I want to make a short post with the easy peasy version how to setup personalization in Sitecore 9.3. I will post links and resources at the bottom of the post for those who want to read the in depth guides and posts out there how it all works.
I will return with a second part for personalization with more advanced custom rules.
1.
Go to where you want to personalize in Experience Editor and press the personalization button
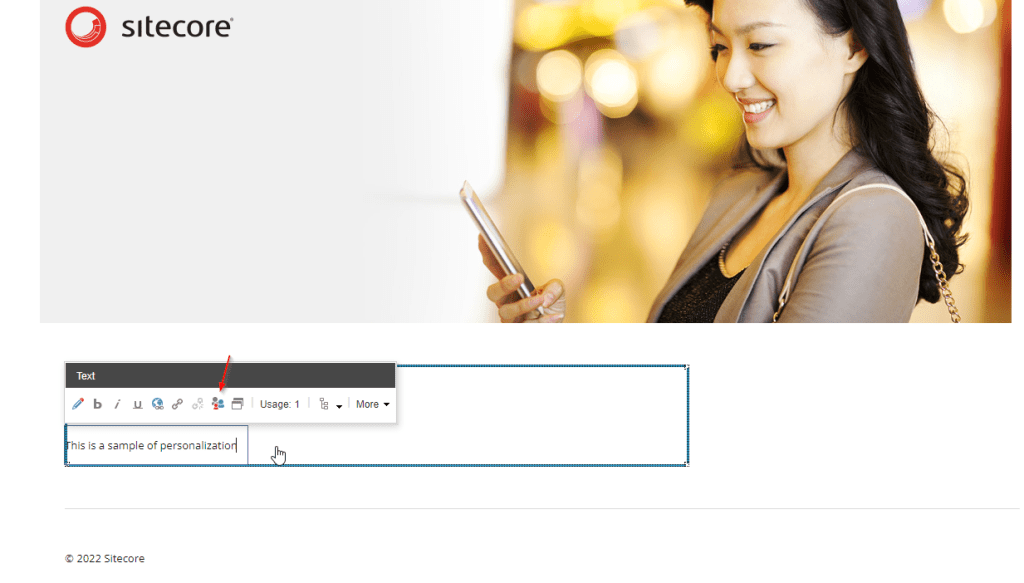
2.
Press the Add button to add a personalization rule.
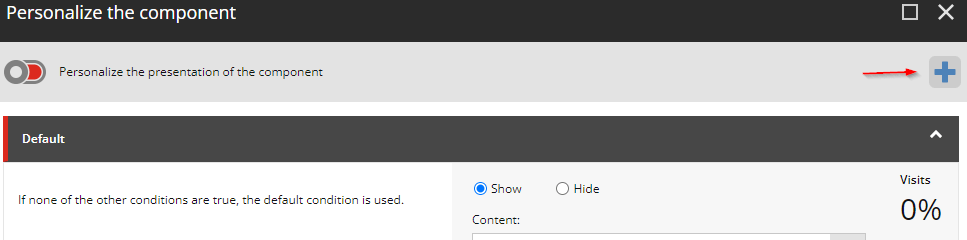
There are a lot of predefined rules you can use, you can also set up custom rules and conditions (check for part 2).
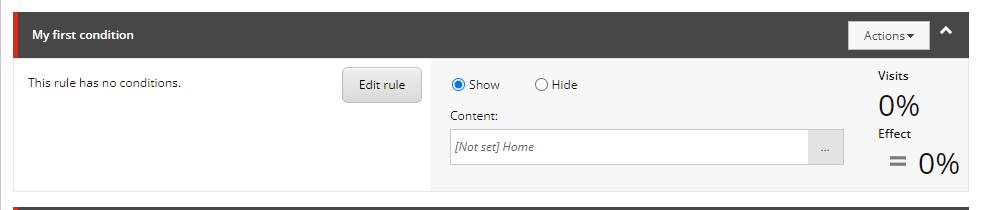
Now you’ll get your new rule and you can edit the conditions by pressing “Edit rule”.
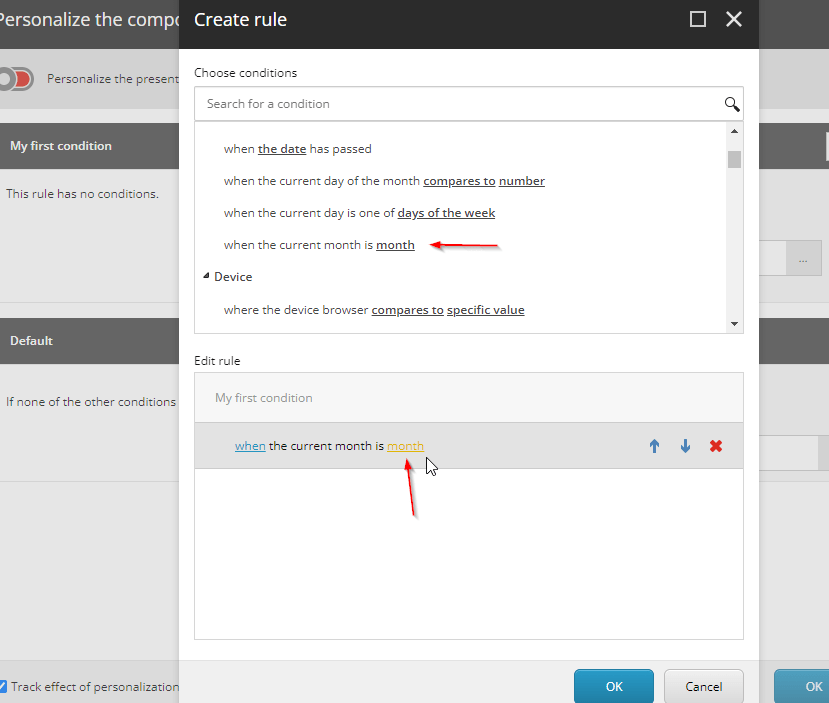
In this case I’ll set a condition that if it’s a certain month I want to show another text. So lets do that by selecting it in the list and then pressing the yellow text “month” to set what the value should be.
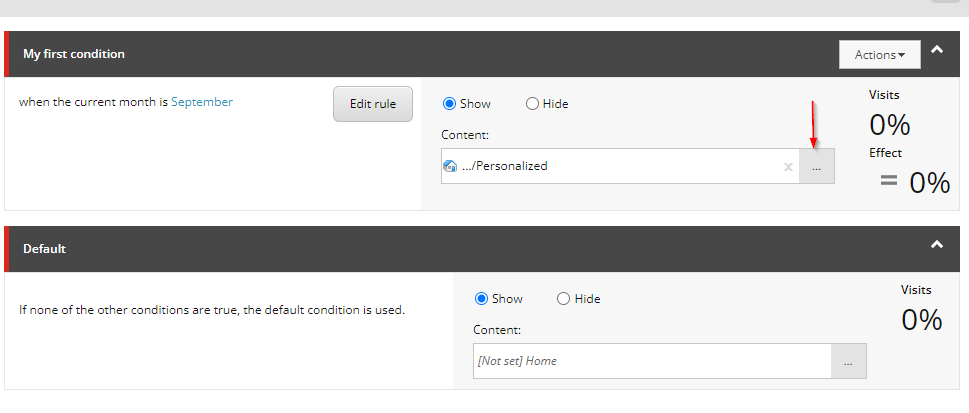
3.
Now we set what content should be shown instead by selecting another datasource for the same rendering by press “…”. Create one if you haven’t already and then select it. You can choose whether it will Show or Hide depending on the condition.
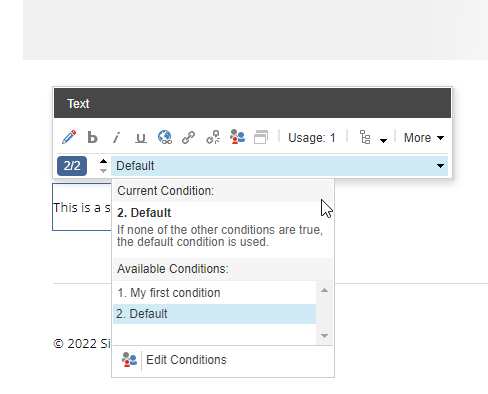
4.
Now you can select between the new condition and the default to see what the difference will be. In this simple case I’ve just set a new text value. If the condition of my first rule is met that specified content will show.
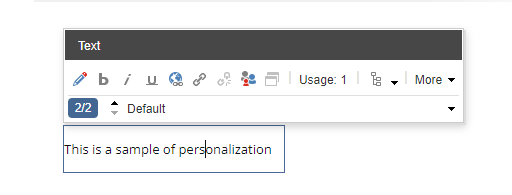
Default content:
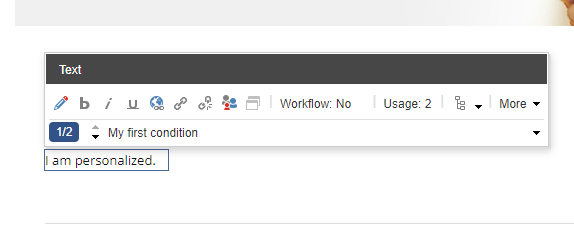
Personalized content:
Resources:
Custom personalization: https://pushpaganan.home.blog/2020/01/06/sitecore-personalization-using-custom-personalization-rule/

One thought on “How to personalize content in Sitecore 9.3”