In this case i’m going to use personalization to check whether a visitor has logged in through our custom login portal or not. Based on this I want to show different datasources for let’s say our Hero banner. Check my previous post how to use rules and select datasources here.
1. Create custom rule
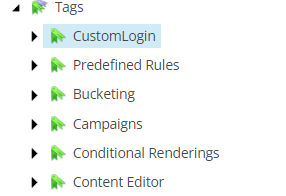
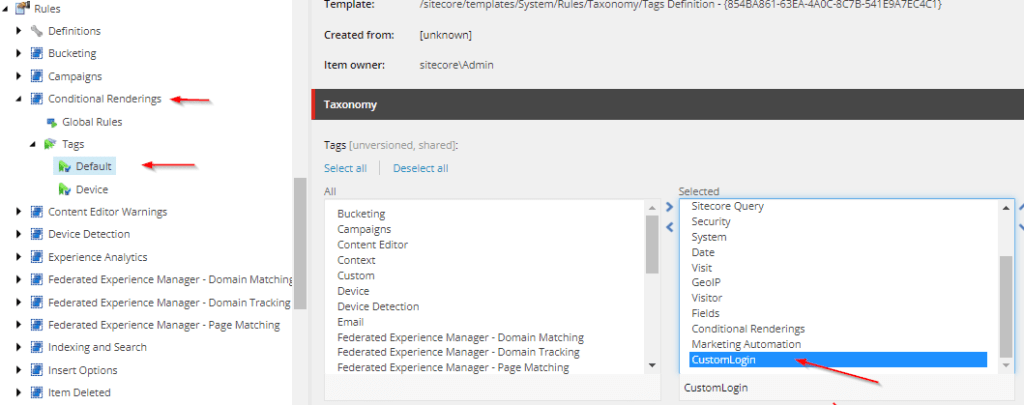
Step 1 – First we create a new Tag under “/sitecore/system/Settings/Rules/Definitions/Tags”
Step 2 – Then go and create a new Element under “/sitecore/system/Settings/Rules/Definitions/Elements/”
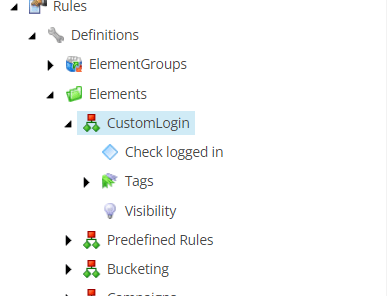
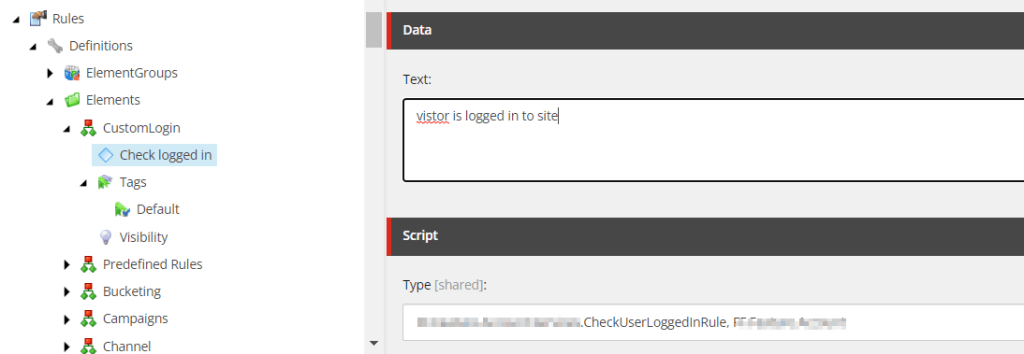
Step 3 – Insert new “Condition” under your Element. In my case I don’t want any other conditions than a bool check so i’ll just write the text like below.
- Text = text displayed in the Edit Rule Box in Experience editor. This support complex conditions like
"where the http request [ParameterName,,,name] parameter [OperatorId, StringOperator,,compares to] [Value,,,specific value]"Useful blogpost by pushpaganan explains more - Type = Your namespace and assembly to your custom code.
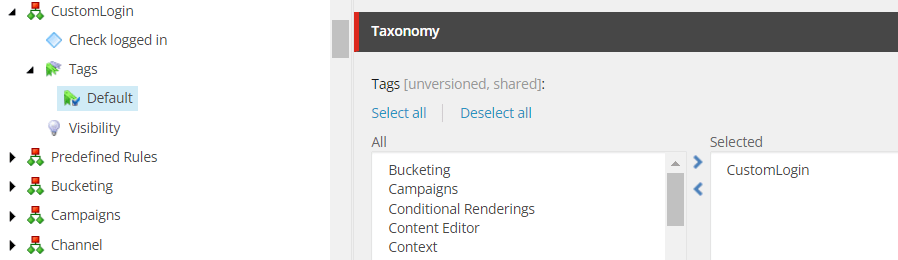
Step 4 – Now select the “Default” tag under “Tags” and select your custom tag
Step 5 – Lastly we need to add this tag to a conditional rendering at “/sitecore/system/Settings/Rules/Conditional Renderings/Tags/Default”
2. Create custom rule code
For a simple check in bool I setup following code which checks if the visitor is logged in and returns true or false. You’ll have to set your own code to verify if logged in depending on how your team is doing this.
public class CheckUserLoggedInRule<T> : WhenCondition<T> where T : RuleContext
{
    protected override bool Execute(T ruleContext)
    {
      Assert.ArgumentNotNull(ruleContext, "ruleContext");
      if(<your bool check if logged in>)
        return true;

      return false;
    }
}
3. Add the newly created rule on a component
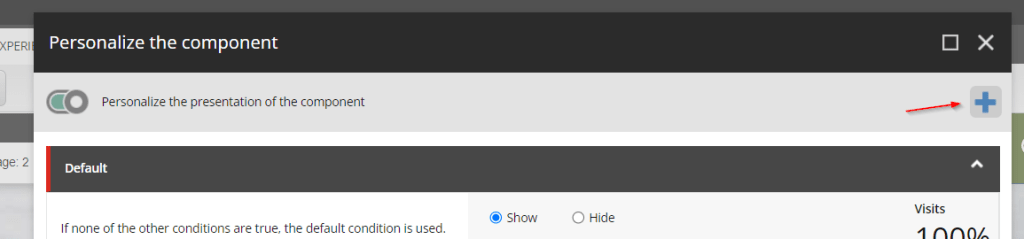
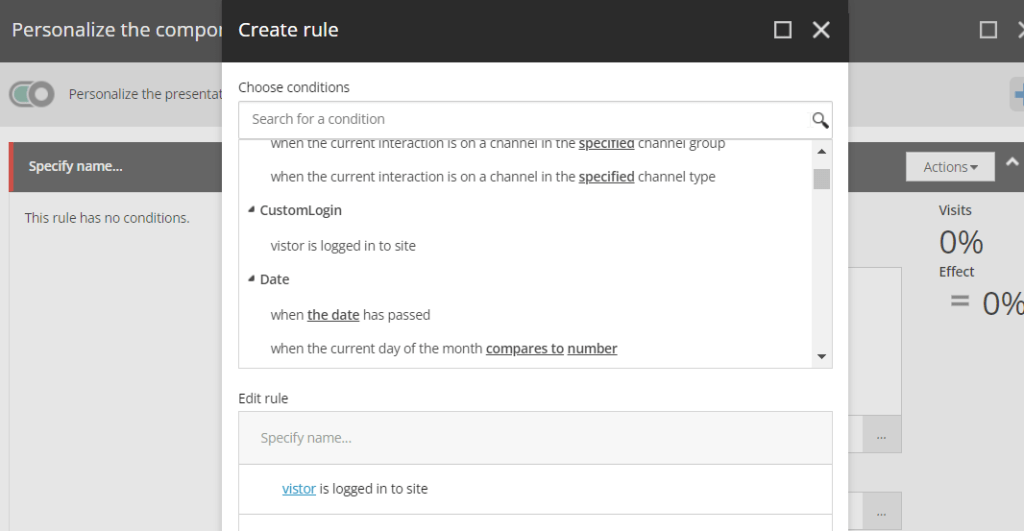
Finally we can add the personalization rule in Experience Editor on our component. Press the + then add your new rule as a condition. Then select a different datasource and your ready to go.

You can preview what it will look like when switching between the new rule and the default in Experience Editor.

